A K-Nearest Neighbors (KNN) classifier is a classification model that uses the nearest neighbors algorithm to classify a given data point. We have implemented the KNN algorithm in the last post, now we are going to build a KNN classifier using that algorithm.
The basic concept of K-nearest neighbor classification is to find a predefined number, i.e., the 'k' - of training samples closest in distance to a new sample, which has to be classified. New samples will get their label from the neighbors itself. The KNN classifiers have a fixed user defined constant for the number of neighbors which have to be determined. For the distance, standard Euclidean distance is the most common choice. The KNN Classifier works directly on the learned samples rather than creating the rules for learning. The KNN algorithm is among the simplest of all machine learning algorithms. It has been quite successful in a large number of classification and regression problems, for example, character recognition or image analysis.
Example
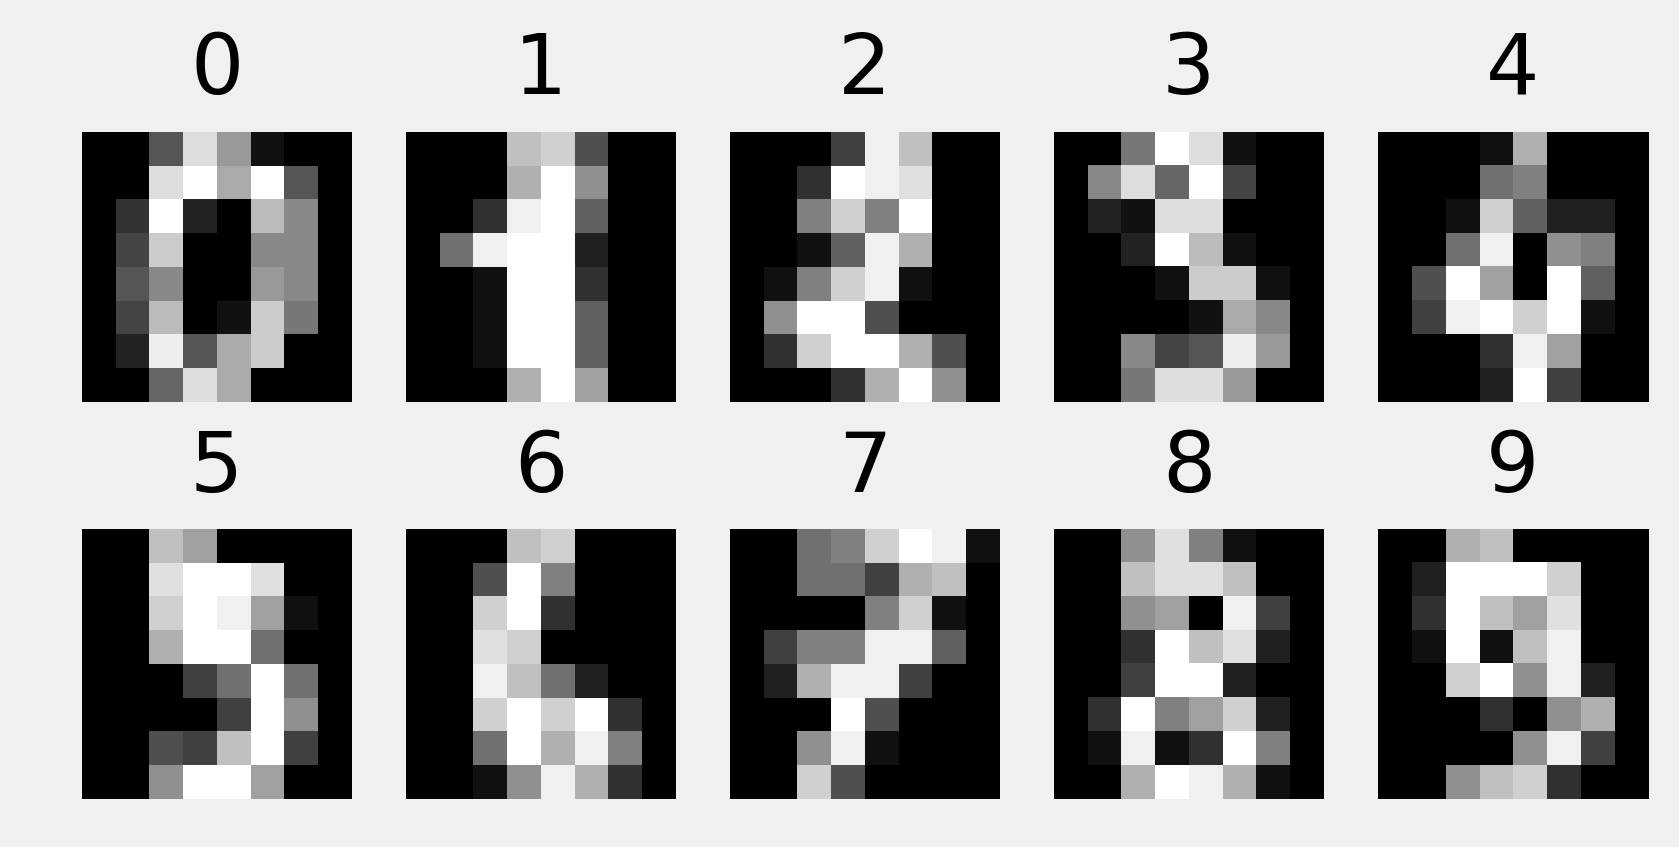
We are building a KNN classifier to recognize digits. For this, we will use the MNIST dataset. We will write this code in the Jupyter Notebook.
Import the necessary packages as shown below.
Here we are using the KNeighborsClassifier module from the sklearn.neighbors package:
from sklearn.datasets import *
import pandas as pd
%matplotlib inline
from sklearn.neighbors import KNeighborsClassifier
import matplotlib.pyplot as plt
import numpy as np
import pandas as pd
%matplotlib inline
from sklearn.neighbors import KNeighborsClassifier
import matplotlib.pyplot as plt
import numpy as np
The following code will display the image of digit to verify what image we have to test:
def Image_display(i):
plt.imshow(digit['images'][i],cmap='Greys_r')
plt.show()
plt.imshow(digit['images'][i],cmap='Greys_r')
plt.show()
Now, we need to load the MNIST dataset. Actually there are total 1797 images but we are using the first 1600 images as training sample and the remaining 197 would be kept for testing purpose.
digit = load_digits()
digit_d = pd.DataFrame(digit['data'][0:1600])
digit_d = pd.DataFrame(digit['data'][0:1600])
Now, on displaying the images we can see the output as follows:
Image_display(0)
Image_display(0)
Image of 0 is displayed as follows:

Image_display(9)
Image of 9 is displayed as follows:

digit.keys()
Now, we need to create the training and testing data set and supply testing data set to the KNN classifiers.
train_x= digit['data'][:1600]
train_y = digit['target'][:1600]
KNN = KNeighborsClassifier(20)
KNN.fit(train_x,train_y)
train_y = digit['target'][:1600]
KNN = KNeighborsClassifier(20)
KNN.fit(train_x,train_y)
The following output will create the K nearest neighbor classifier constructor:
KNeighborsClassifier(algorithm='auto', leaf_size=30, metric='minkowski',
metric_params=None, n_jobs=1, n_neighbors=20, p=2,
weights='uniform')
metric_params=None, n_jobs=1, n_neighbors=20, p=2,
weights='uniform')
We need to create the testing sample by providing any arbitrary number greater than 1600, which were the training samples.
test = np.array(digit['data'][1725])
test1 = test.reshape(1,-1)
Image_display(1725)
test1 = test.reshape(1,-1)
Image_display(1725)
Image_display(6)
Image of 6 is displayed as follows:

Now we will predict the test data as follows:
KNN.predict(test1)
The above code will generate the following output:
array([6])
Now, consider the following:
digit['target_names']
The above code will generate the following output:
array([0, 1, 2, 3, 4, 5, 6, 7, 8, 9])
In the next post, we will learn about the different components of NLP.
0 comments:
Post a Comment