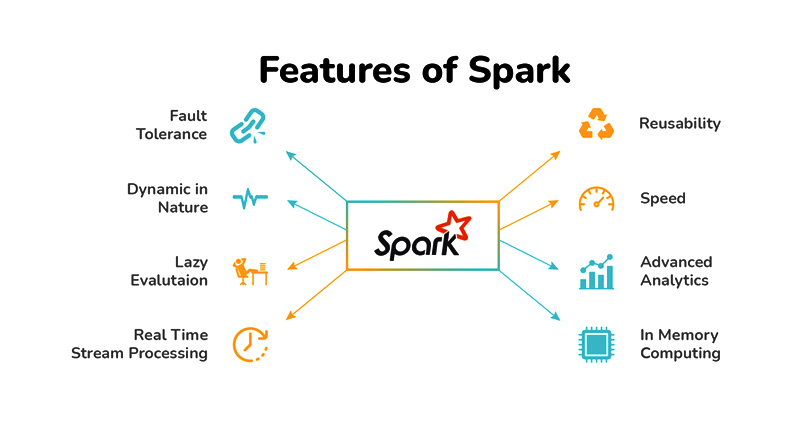
Apache Spark is a sort of engine which helps in operating and executing the data analysis, data engineering, and machine learning tasks both in the cloud as well as on a local machine, and for that, it can either use a single machine or the clusters i.e distributed system.
We already have some relevant tools available in the market which can perform the data engineering tasks so in this section we will discuss why we should choose Apache Spark over its other alternatives.

- Streaming data: When we say streaming the data it is in the form of
batch streamingand in this key feature Apache Spark will be able to stream our data in real-time by using our preferred programming language.
- Increasing Data science scalability: Apache Spark is one of the widely used engines for scalable computing and to perform Data science task which requires high computational power Apache Spark should be the first choice.
- Handling Big Data projects: As previously mentioned that it has high computational power so for that reason it can handle Big data projects in cloud computing as well using the distributed systems/clusters when working with the cloud, not on the local machines.
After successfully installing PySpark
Now as we have imported the dataset and also have a look at it so now let’s start working with PySpark. But before getting real work with PySpark we have to start the Spark’s Session and for that, we need to follow some steps which are mentioned below.
- Importing the Spark Session from the Pyspark’s SQL object
- After importing the Spark session we will build the Spark Session using the builder function of the SparkSession object.
- About the spark session: In memory
- Spark context:
- Version: It will return the current version of the spark which we are using – v3.2.1
- Master: Interesting thing to notice here is when we will be working in the cloud then we might have different clusters as well like first, there will be a master and then a tree-like structure (cluster_1, cluster_2… cluster_n) but here as we are working on a local system and not the distributed one so it is returning local.
- AppName: And finally the name of the app (spark session) which we gave while declaring it.


0 comments:
Post a Comment